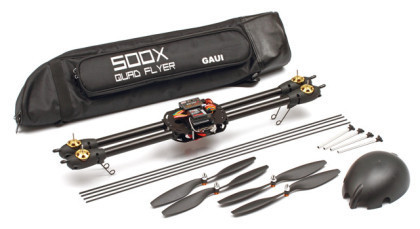
Gaui 500x Foldable Quad Flyer
Friday 13th January 2012
Specifications
Manufacturer: Gaui
Model: 500x Quad Flyer
Materials: Aluminium, Glass Fibre, ABS Plastic
Size:
Weight (Frame Only):
Price for Frame: £105.49 at Fast-Lad Performance
Equipment Installed / Setup
Motors: 750Kv
ESC's: Turnigy Plush 18amp v3.1
Controller: OpenPilot CopterControl
Firmware: 19/08/11 - 419
Blades: 9x4.7 & 10x4.7 SF E-Prop
Batteries: Turnigy Nano-Tech 3 Cell 2200mah 25-50C
Reciever: Spektrum AR6210 DSMX
AUW:
Flight Times: 7-8 Minutes
OK So finally decided to get a quad but I must admit it wasn't my first choice, I always thought Quads looked boring, everyone was building them and they didn't fly great in fast forward flight but then I asked the question "What did I Really Want Out of a Multi-Rotor Plateform?" At the mement I find myself taking more pictures than videos so because of that it had to Powerful to carry a compact camera, stable to get nice clear pictures and light weight so I could get time to get that perfect picture without running out of batteries - Quad? Yes!
Adobe Acrobat document [10.2 MB]
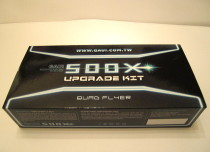 Gaui 500X Quad Flyer Box
I searched around the internet forums, shops and thought about building one out of wood/glass fibre like the Tricopters but after a month of searching I set my heart on the Gaui 500X Quad flyer for various reasons - It had good reviews, was foldable, looked the part and christmas way looming.
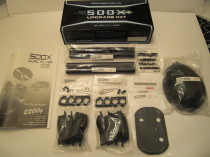 Gaui 500X - Inside The Box
Inside the box you find :-
- Doom Cover
- 2 x Base Plates
- 4 x Motor Mounts
- 4 x Booms
- 8 x Boom Holders
- Electrics Tray
- 4 Bags of Screws
- 4 x Metal Landing Legs
- 1 x Manual
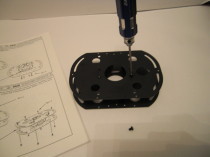
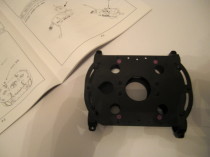
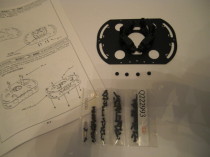 Bottom Base Plate With Arm holders
Take the bottom main frame (The one with five large round holes) and insert the boom holder into the pivot hole using self tap fixing screws M3 x 8mm making sure you have the position indicator for booms on the bottom.
 Fixing both Base Plates To Arm Holders
Align the top main frame on top of the four pivot points of the inside boom holders using self tap screws M3 x 8mm. Make sure these are tight but still able to move so the arms can still fold easily.
 Adding Base Supports
Insert the six main frame aluminum posts (PM2x3.5x22) between the top and bottom frame sections and fix in place using M2 x 5mm with a bit of lock tight blue to save these coming loose due to vibrations.
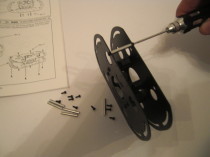
 Outer Arm Holders
Slide the four outer arm holders between the frame base plates while making sure the recessed hole for the boom crip is pointing upwards. Fix these in place using four M3 x 8mm self tap screws on the top making sure again these are tight but will still allow a sliding movement.
 Bottom Plate With Screws & Locking Washer
Fix the otherside of the outer arm holders with four M3 x 8mm screws complete with one M3 gold Washer. Again make sure this is tight enough to still hold but again allow a sliding movement. The Washer is there to act as a locking mechanism to lock either the arms folded or open.
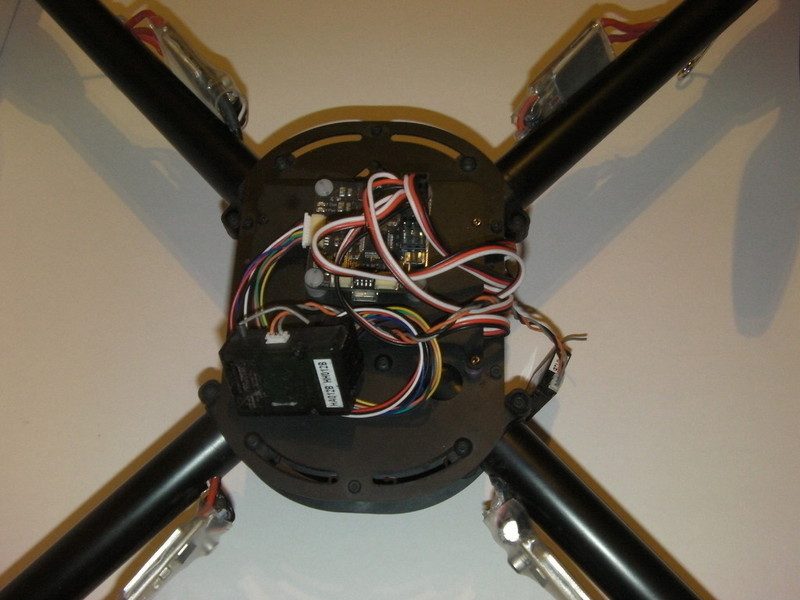
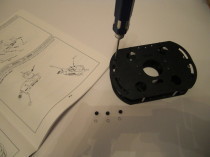
 Anti-Vibration Mounts For Gyro Tray
Next its time to add the Anti-Vibration dampers which is used for the Gyro Controller of your choice which is normally the GU-344 but in this case its the OpenPilot CopterControl. Push one end of the Damper through the pre-drilled holes.
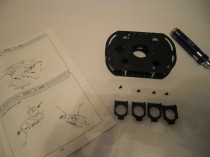
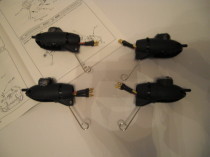
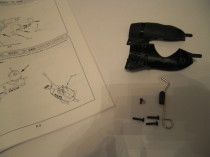 Gaui 500X Motor Mounts
Take both sides of the motor mount & insert the spring type landing gear in the recessed slot. Using the M2 x 5mm screw & nut tighten the two halfs to hold the landing gear in place, next take the three M3 x 12mm self tap screws & insert these into the remaining holes, tighten to hold together remembering these will have to be loosened again to fit the arms.
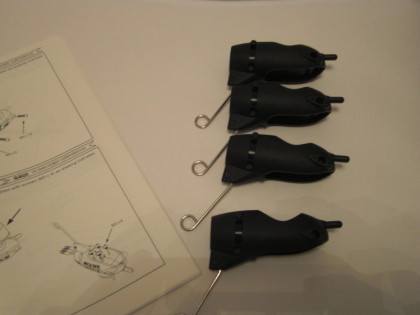 Complete This For The Other Three Mounts
 Installing Motors To Mounts
Slide the motors in through the top and line up the four holes with the base plate, tighten using four M3 x 5mm screws while remembering to add thread lock blue. If you don't have screws available there is a "Motor Screw" Kit which fit perfectly. Do the above for the other three motors.
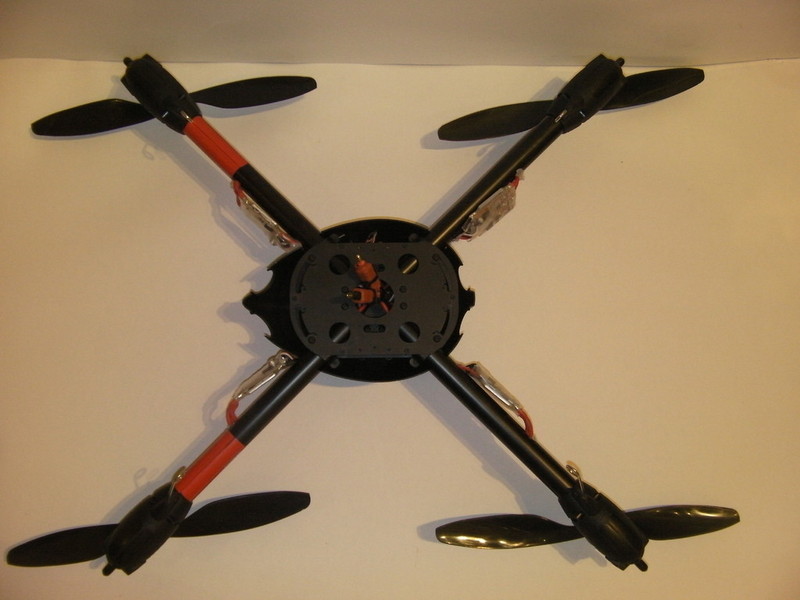
 Motors Installed To Mounts
The motors I decided to use were a perfect fit, lined up perfectly but do remember not to over tighten the screws as I managed to crack one of the base plates by using a little to much force. Totally my own fault and not due to quality of parts.
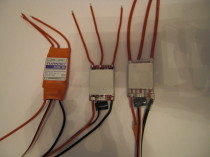 Plush 18amp Speed Controllers Modified
Next up its time to modify the ESC as the original cables are a little short so the picture to the right shows the process. First cut open the heat shrink and desolder the three motor end cables so longer ones can be soldered on. Now reheat shrink to make sure nothing shorts out with any moisture in the air.
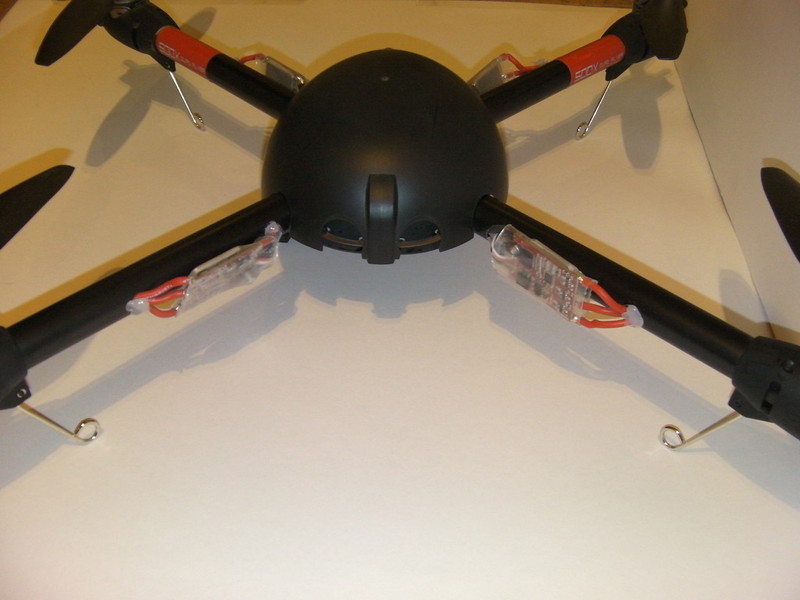
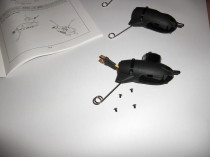
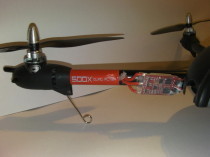 Rear 500x Arm with Plush 18amp Esc
The Plush 18amp speed controllers are a little big to fit inside the arms so I needed to drill two 8mm holes on the side of the arms to allow both sets of wires to be fed through. Once these were drilled I tidied up the holes with a file to save any damage happening from sharp edges & also used "hot Clue" to hold the cables in place.
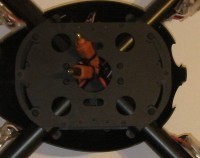 4 to 1 ESC to Battery Connector from Gaui
One thing I thought was a fantastic idea and one I hadn't seen before until I build this bird was a 4 in 1 connector so you can connect all the positives together and all the negitives to the battery using 3.5mm bullit connecters with no hassle. Highly recommended - Part Number 222175 but can also be found at HobbyKing.
After soldering all the bullit connectors and fixing the cables in place it was time to add my chosen flight controller which in this case is the Open Pilot Copter Control which I was having lots of issues with on the Tricopter so basically if it didn't work here it was time to sell. The good news was that is did in fact work a lot better than expected, still a few twitches from time to time more so in the wind but over all I am happy.
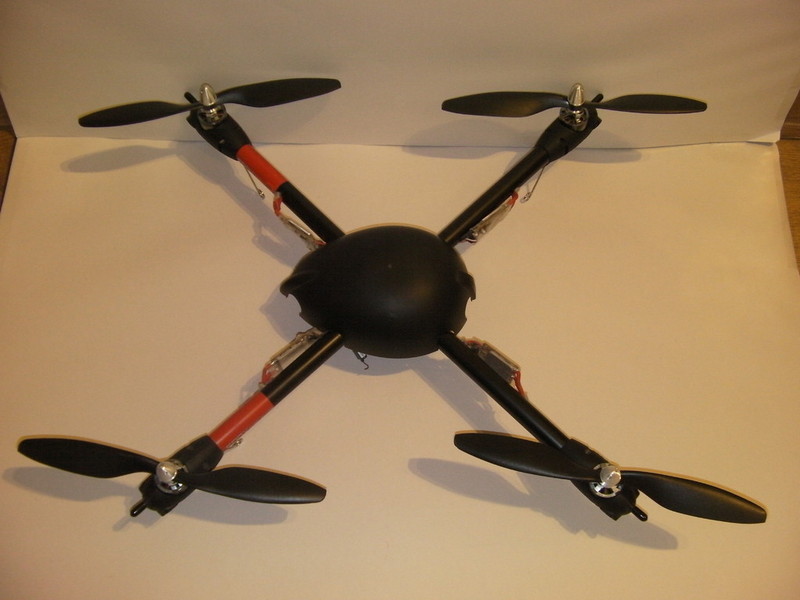
 Completed Gaui 500x Quadcopter